Exposed Push Button Shower Valve 120mm (Adjustable Time&Temp)


Exposed Push Button Shower Valve 120mm (Adjustable Time&Temp)
- FREE SAME DAY SHIPPING FOR ORDERS OVER $25 (US ONLY)
Exposed Push Button Shower Valve Time And Temperature Adjustable
Elevate your shower experience with the Exposed Push Button Shower Valve, the perfect choice for any commercial or residential facility. Crafted from solid brass, this self-closing valve is built to last, handling frequent use with ease. Enjoy the convenience of adjustable time and temperature settings, making it a versatile and user-friendly addition to any shower setup. Plus, its metering design ensures excellent water conservation, making it as eco-friendly as it is efficient. Upgrade your shower with a valve that combines durability, functionality, and sustainability.
General Information
| Valve Type | Self Closing Metering Valve |
|---|---|
| Valve Activation | Manual Push Button Valve |
| Installation Type | Exposed Pipes |
| Construction Material | Lead Free Solid Brass |
| Finish | Chrome Plated Finish |
Connections & Dimensions
| Inlet | 1/2" MPT |
|---|---|
| Outlet | 1/2" MPT |
| Rosette Plate Diameter | 2.25" (57mm) |
| Valve Body Length | 4 5/8" (120mm) |
Product Features
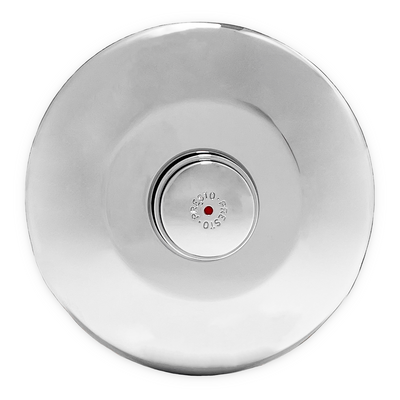
| Time Adjustable | Yes, 3-40 Seconds |
|---|---|
| Temperature Adjustable | Yes |
| Built-in Premix | Yes |
| Lead Free and Corrosion Resistant | Yes |
| Vandal Resistant | Reduces tampering and risk of flooding |
| Water Saving | Up To 85%! |
| Working Temperature Range | 40 Degrees F - 160 Degrees F |
What's Included
| Item(s) |
|
|---|
What's Not Included?
| Item(s) | Replacement Cartridge |
|---|
Certifications & Approvals
| Safety Listing(s) |
|
|---|
Applications & Uses
| Facility Types |
|
|---|---|
| Systems / Equipment |
|
| Markets | Commercial and Residential |
Documents
| Specification Sheet | Valve Specification Sheet |
|---|---|
| Installation Instructions | Valve Installation Instructions |
Replacement Parts
| Cartridge | RC-355ADJ |
|---|
We are in Sutton, Massachusetts. All orders, with in-stock items, placed before 3PM EST will be shipped on the same business day via USPS, UPS or FedEx. All orders shipping within the continental US over $25 ship free.
*Please note: Coin timers are made to order and are not returnable. These items have a lead time of 2–3 weeks.
We do not ship outside of the US, Canada, Alaska and Hawaii. We also do not ship to APO/FPO mailboxes. We are sorry for the inconvenience!
